Virtual Manipulatives
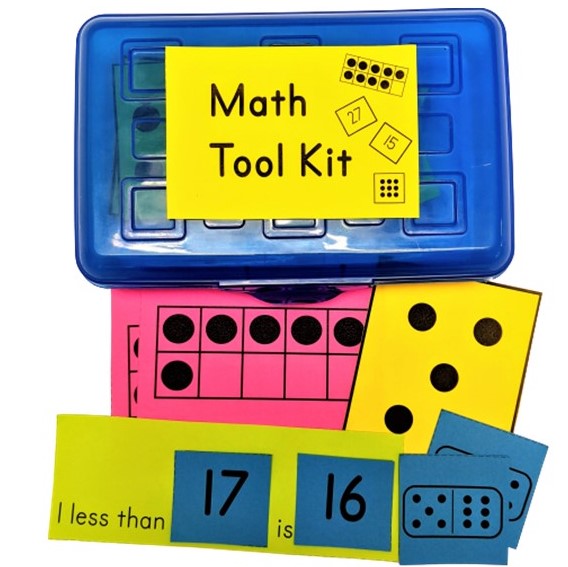
Concrete manipulatives play an important role in math teaching and learning but with the many health and safety precautions brought on by Covid-19 many schools are looking for alternatives to shared materials. Individual math tool kits for students, combined with the use of virtual manipulatives can provide safe learning opportunities no matter where students are learning. This page provides links to some of the virtual manipulatives that we use most often to provide concrete ways for students to bring meaning to abstract mathematical ideas. The dynamic nature of these web-based representations of physical manipulatives offer opportunities to explore, reinforce and extend key math concepts in ways that keep students engaged.
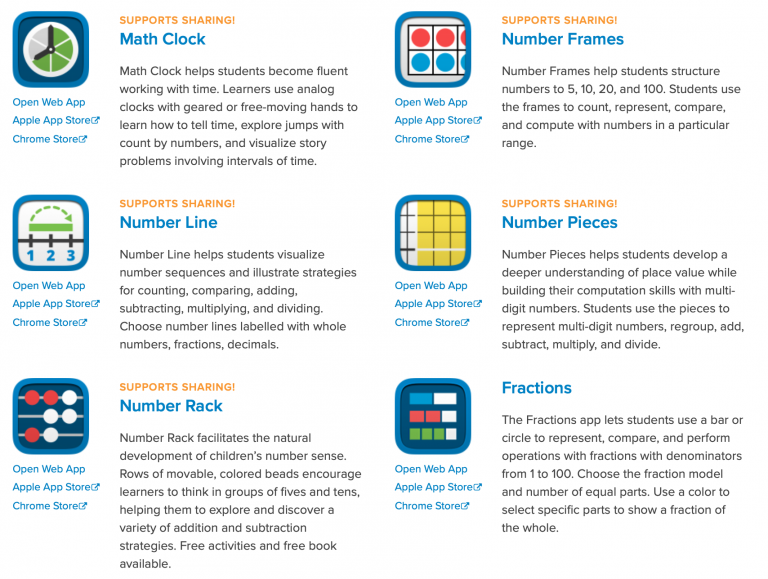
The Math Learning Center provides a suite of virtual manipulatives. Apps are available in two or more
versions: a web app for all modern browsers, and downloadable versions for
specific operating systems and devices (such as Apple iOS for iPad). At the time of writing some of the apps are
being updated with a sharing feature that allows teachers to pose problems
specific to their class and for students to share their thinking with their
teachers and classmates.
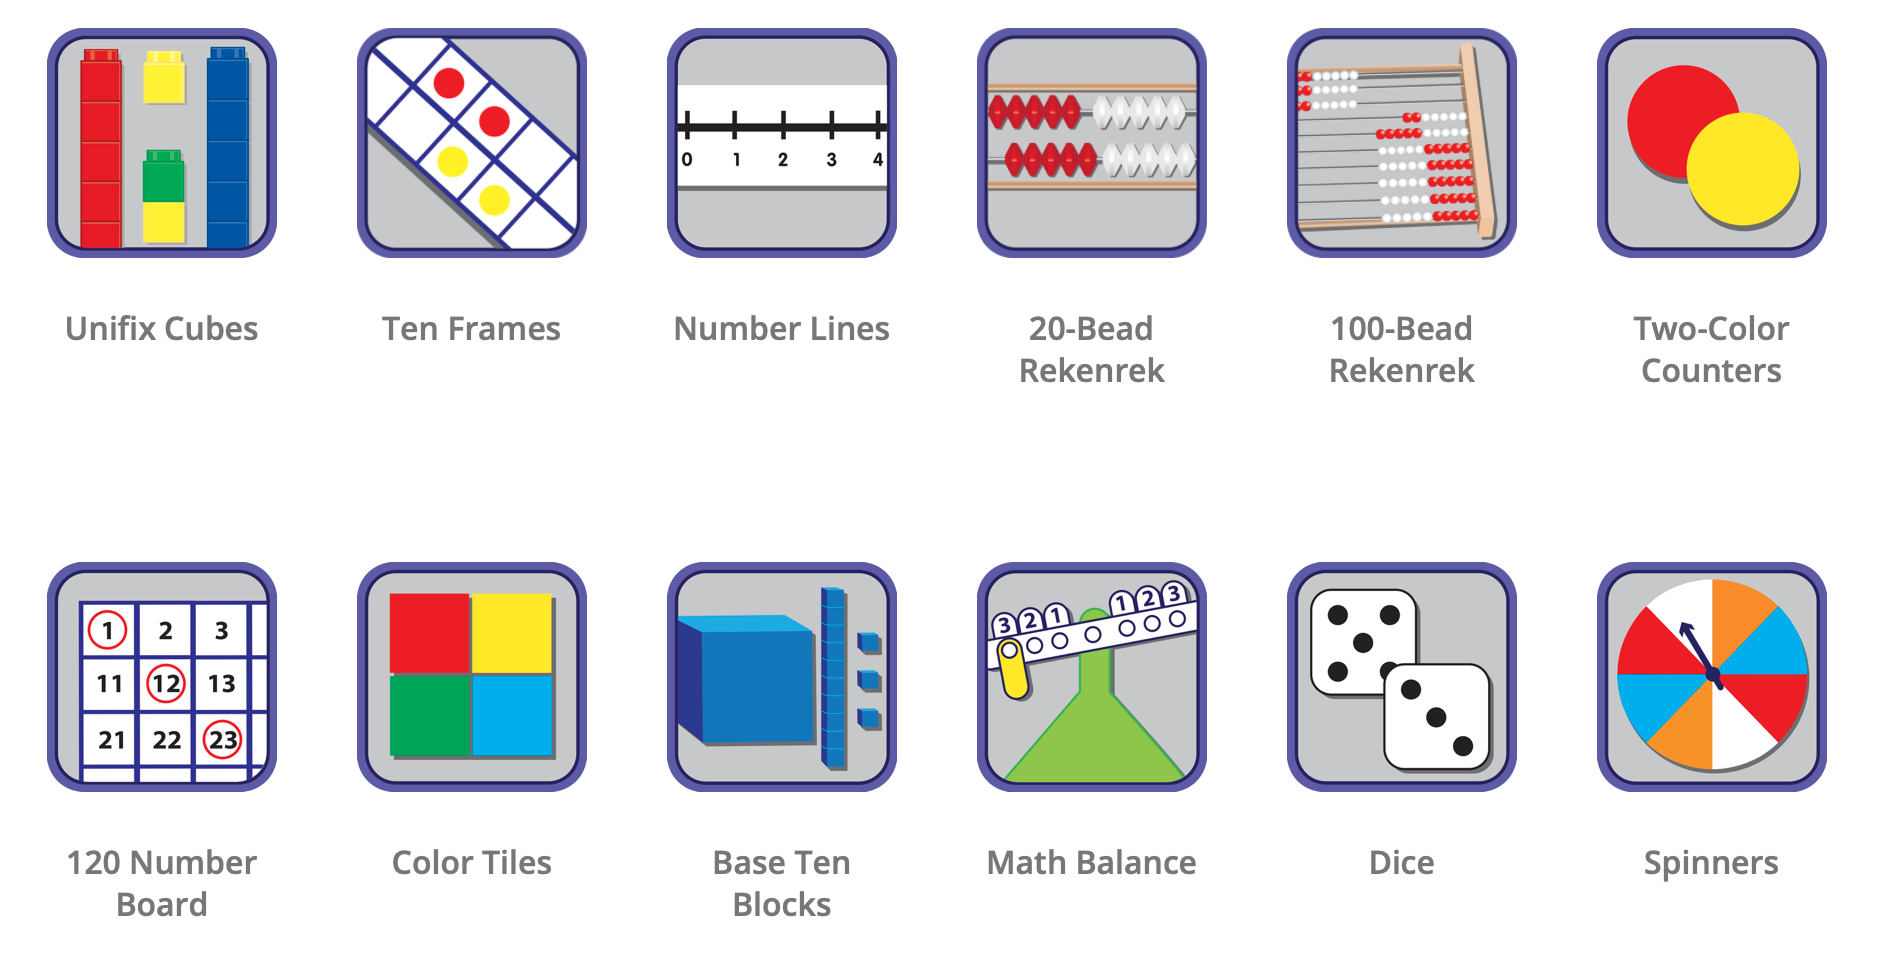
Didax offers virtual manipulatives for many of their physical manipulatives
commonly found in classrooms (e.g. unifix cubes, two-color counters, color
tiles, pattern blocks etc.). Instructions on how to use these virtual manipulatives,
learning activities and instructions on how to embed the manipulatives in your
online learning platform are provided. Below is a sample of some of the available manipulatives.
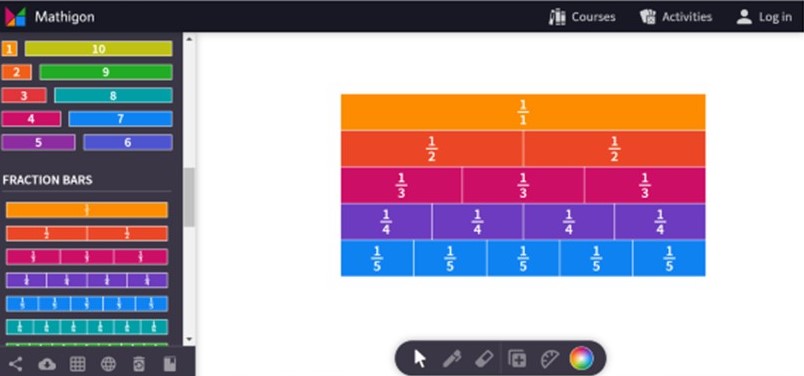
The Mathigon “polypad” provides a web-based whiteboard screen. Available virtual manipulatives include polygons, number tiles, number bars, fraction bars, algebra tiles, pentominoes and tangrams. Once in the polypad scroll down on the left hand side to access all available manipulatives.
Google Slides
Sometimes when you want to see what all your students are doing simultaneously (and in REAL time) a
simple set of manipulatives in Google Slides, with one slide for each student, is the way to go.
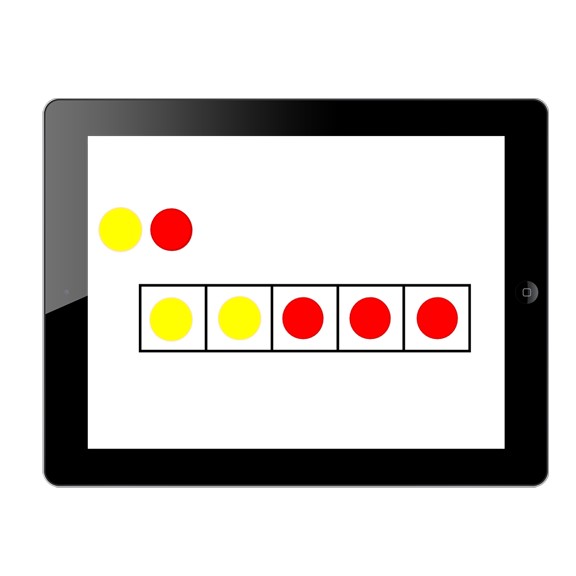
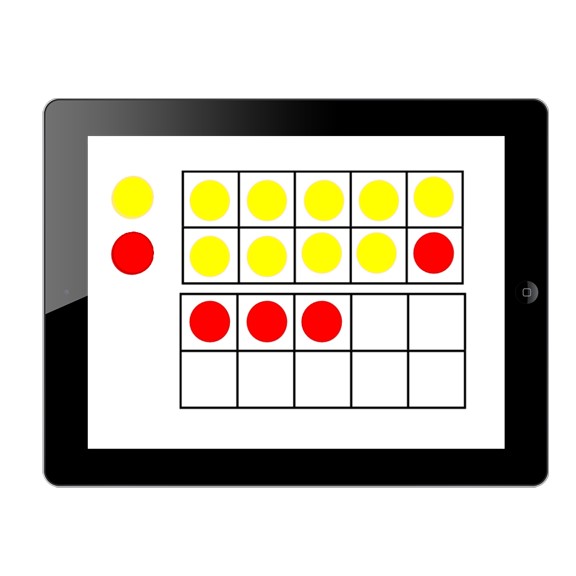
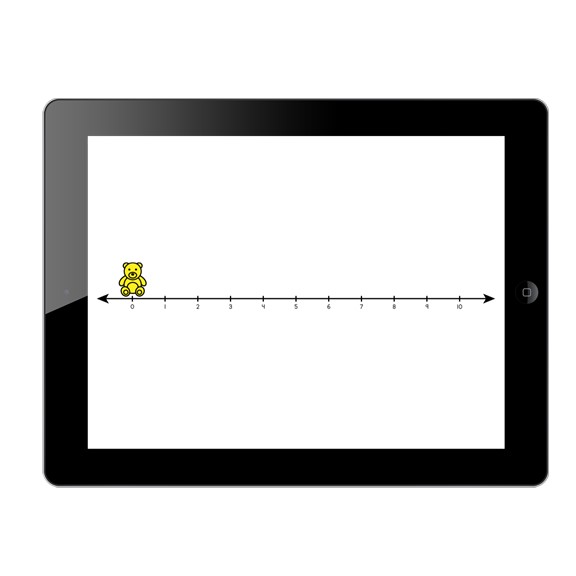
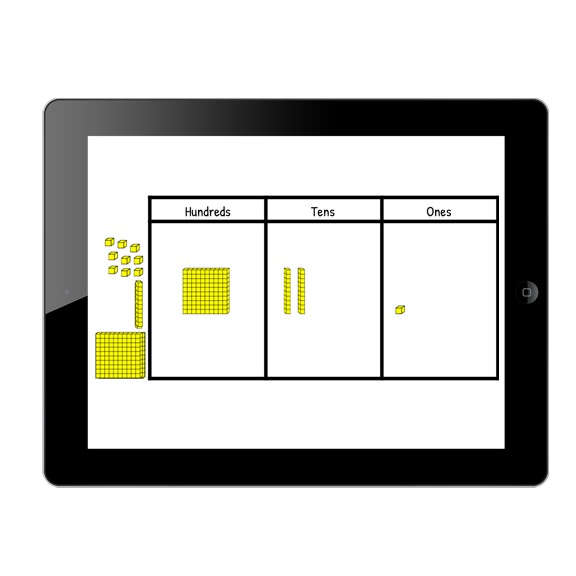
Below are some of the slide decks we use in K-2 when we want to see what everyone is doing, give immediate feedback and select student work to share and discuss on the spot, without the need to open individual documents from each student. Choose a manipulative you would like to try with your students and click on the link to save to your Google Drive. Share the slide deck with
your students and give them editing access to allow them to move the manipulative pieces. You can do this is Google Slides by changing the link to "anyone with the link can edit" or in Google Classroom by selecting "Students can edit file." Then set a task, give students some work time, and select several to share their thinking with the group.
Tips:
1. For a smoother start to your session, assign slides by either typing a student name on each slide (or in the Speaker Notes) or give each student a unique slide number that they will use each time you work in slides. This will alleviate any confusion at the start of the lesson about which slide each student should be working on.
2. When working in slides, click on the 2 by 3 icon of squares on the bottom left of the page to switch to Grid view and see all students' slides on your screen at once. Use Control + Minus (or Command + Minus on a Mac) to zoom out if needed.
3. At the conclusion of the session return all manipulatives to the start position by clicking on File > Version History > See Version History and select the original version.
4. Students working on iPads will need the have the Google Slides app installed. Once the app is installed the student can open a slide deck and click on the arrow on the top, right hand corner of the iPad to open the Google slides app. If the slides have been shared in editing mode they will be interactive and the student will be able to manipulate the pieces.
5. Start small! Try this out with a small group (4-6 students) and gradually increase group size.
